%202.png)


%202.png)
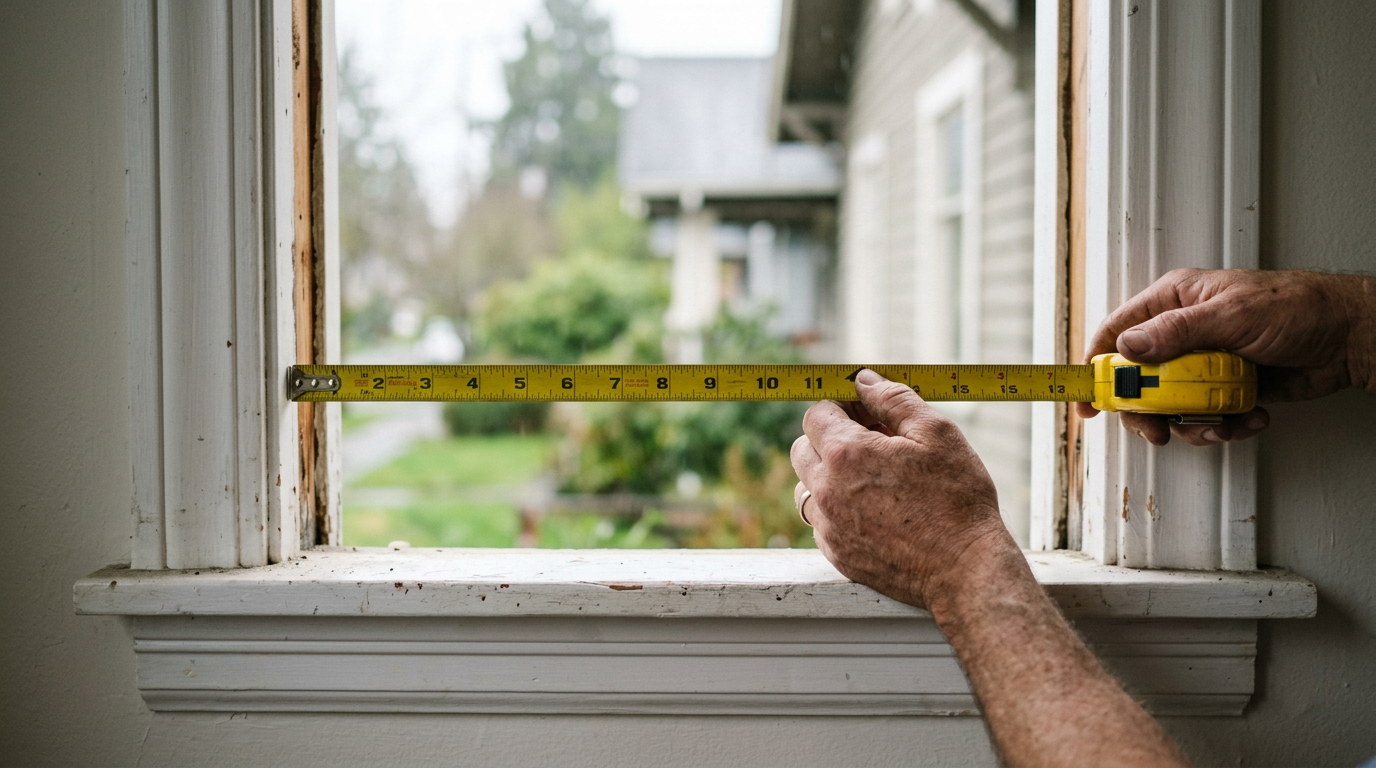
Measure the width in three places and the height in three places. Use the smallest width and the largest height for an inside mount. Write down which is which. Use a steel tape, never a cloth one, and record everything to the nearest eighth of an inch without rounding.
Then, if you are ordering custom, have someone do it professionally anyway. The reason is at the bottom, and it is about who pays when it is wrong.
Everything else depends on this.
Inside mount sits within the window opening. Cleaner look, shows off the window trim, and needs sufficient depth for the headrail. Most products need somewhere around two to three inches of flat depth, though it varies by product.
Outside mount fits on the wall or trim above the opening. Use it when you do not have the depth, when the window is out of square, or when you want to block more light by overlapping the frame.
In older Seattle homes, outside mount solves a lot of problems. Craftsman and pre war windows are frequently not square and often lack the depth for an inside mount.
You need: a steel tape measure, a pencil, and paper. Not a cloth tape. Cloth stretches and it will cost you.
1. Measure the width in three places. Top of the opening, middle, bottom. Measure the actual opening, inside edge to inside edge, not the trim.
2. Use the narrowest of the three. This is the number you record. If the top is 36 1/4 and the bottom is 36 1/8, you use 36 1/8. A covering built to the widest measurement will not fit past the narrowest point.
3. Measure the height in three places. Left, centre, right, from the top of the opening to the sill.
4. Use the longest of the three for the height.
5. Measure the depth. From the front of the window glass to the front edge of the opening. This determines whether an inside mount is possible at all, and whether the covering sits flush or protrudes.
6. Record to the nearest eighth of an inch. Do not round. Do not make a deduction for clearance either. Manufacturers apply their own deduction, and if you take one off as well, your blinds arrive too small. This is the most common expensive mistake there is.
1. Measure the width of the area you want covered, then add three inches to each side. That overlap is what stops light leaking down the edges.
2. Measure the height you want covered, then add two to three inches above the opening for mounting the headrail, plus a couple of inches below the sill if you want full coverage.
3. Check what you are mounting into. Trim, drywall, plaster. It changes the hardware. Older Seattle homes with plaster walls need proper anchors.
For outside mounts you do want to be generous. Unlike an inside mount, extra coverage is a feature.
Measure both diagonals, corner to corner. If they differ by more than a quarter of an inch, the window is out of square.
This matters. An inside mount in an out of square opening leaves visible wedge shaped gaps, and there is nothing an installer can do about it on the day. Out of square is a strong argument for outside mount.
In pre war Seattle housing, expect it. Houses settle.
Bay windows. Each panel gets measured separately, and the angles between them affect clearance. Get these measured professionally, they are genuinely hard.
Doors. Patio and french doors need the handle clearance measured too, and the covering has to work around it.
Arches and specialty shapes. Templated rather than measured. Not a DIY job.
Tile and tub surrounds. Measure the same way, but flag it before installation day so the installer arrives with the right anchors.
Everything above is correct, and you can absolutely use it to sanity check a quote or to order stock size coverings.
But for custom window coverings, professional measuring is not about whether you are capable of holding a tape measure. It is about liability.
When we measure and something does not fit, we remake it at our cost. When you measure and something does not fit, custom coverings are not returnable, and the remake is yours to pay for. That is not a policy we invented, it is how custom manufacturing works everywhere.
The measure is free, it takes under an hour, and nothing is ordered until you have seen a quote.
Book a free measure and consultation
Measure the width at the top, middle, and bottom of the opening, and the height at the left, centre, and right. For an inside mount, use the narrowest width and the longest height. Record to the nearest eighth of an inch and do not round.
For an inside mount, measure the window opening itself, inside edge to inside edge, not the trim. For an outside mount, measure the area you want covered and add roughly three inches on each side for light blocking overlap.
No. Give the exact opening measurement. Manufacturers apply their own deduction for clearance. Taking your own deduction on top of theirs is the most common measuring mistake and it produces blinds that are too small to fit.
Most products need roughly two to three inches of flat depth from the glass to the front edge of the opening, though it varies by product. Less depth than that means an outside mount, or a product chosen specifically for shallow openings.
Measure both diagonals corner to corner. A difference of more than a quarter inch means the window is out of square, which will leave visible gaps on an inside mount. Out of square windows are usually better served by an outside mount.
Inside mount looks cleaner and shows the window trim, but needs adequate depth and a reasonably square opening. Outside mount blocks more light, hides an out of square window, and works where depth is insufficient. Older homes often suit outside mount better.
Custom coverings are made to your measurements and are not returnable, so a remake is at your cost. When the retailer measures, a misfit is their cost to correct. That difference is the main reason to have custom orders measured professionally.
.png)
